Introduction
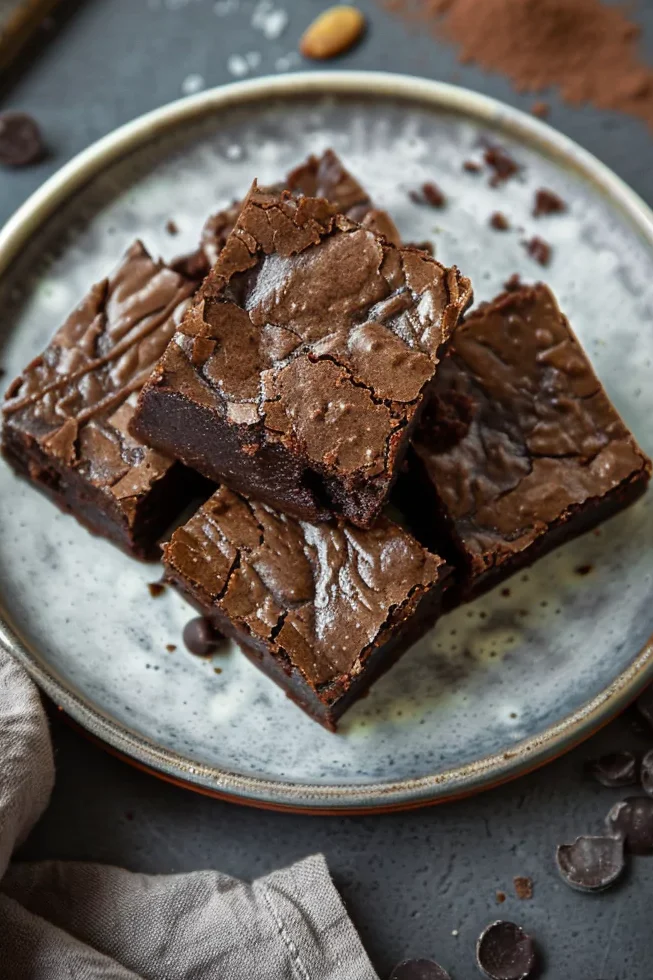
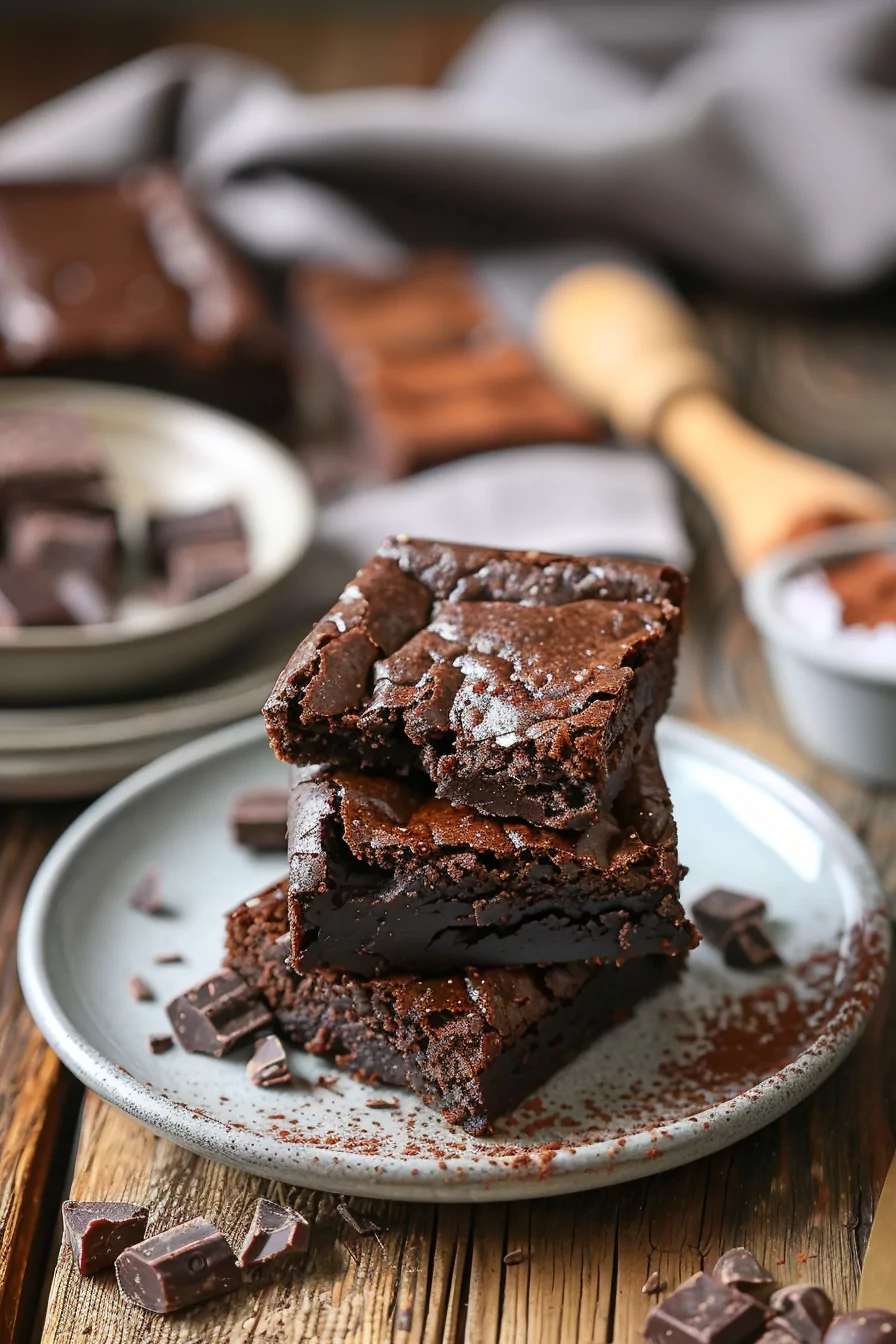
Sometimes, the simplest recipes are the ones we fall in love with the most—and these Healthy 3-Ingredient Flourless Brownies are a perfect example. Rich, fudgy, and full of deep chocolate flavor, they’re proof that you don’t need a long list of ingredients to create something truly satisfying. These brownies are naturally gluten-free and packed with wholesome goodness, making them ideal for an afternoon treat, a lunchbox surprise, or a quick dessert when that chocolate craving hits. Brownies have long been a classic comfort food, and this recipe gives them a modern, healthful twist without sacrificing taste.
Pro Tip
For an ultra-fudgy texture, don’t overbake. The center should still look slightly undercooked when you take them out—they’ll firm up perfectly as they cool.
Serving Suggestions
- With Fresh Berries: Serve warm with a handful of raspberries or strawberries for a refreshing contrast.
- Dessert Platter: Cut into small squares and add to a platter with mixed nuts and dark chocolate squares for an elegant after-dinner treat.
- With Ice Cream: Pair with a scoop of vanilla or coconut milk ice cream for a decadent yet balanced dessert.
Variations
- Nut-Free Version: Use sunflower seed butter instead of almond or peanut butter for a nut-free option.
- Mocha Brownies: Add 1 teaspoon of instant coffee or espresso powder to the batter for a coffee-chocolate flavor.
- Chocolate Chip Upgrade: Stir a handful of dark chocolate chips or chopped walnuts into the batter before baking for extra texture.
- Banana-Free Option: Substitute unsweetened applesauce or pumpkin puree for the bananas if you prefer a different flavor profile.
Equipment Needed
- Mixing Bowl – For combining the ingredients thoroughly.
- Fork or Potato Masher – Helps mash the bananas smoothly for an even batter.
- 8x8-Inch Baking Pan – The ideal size for even baking and slicing into squares.
- Parchment Paper – Prevents sticking and makes it easy to lift the brownies out for cutting.
- Spatula – For smoothing the batter into the pan evenly.
Tips for Success
- Use Ripe Bananas: The riper, the better—speckled bananas bring the best natural sweetness.
- Don’t Skip the Lining: Always line the baking pan with parchment paper to avoid sticking.
- Cool Before Cutting: Let the brownies cool completely to get clean slices.
- Taste Before Baking: Give the batter a little taste; if you prefer sweeter brownies, add a touch of maple syrup or honey.
- Add a Pinch of Salt: A small pinch of sea salt enhances the chocolate flavor beautifully.
Why You’ll Love This Recipe
These brownies are what every home cook dreams of—simple, wholesome, and full of rich chocolate goodness. They’re naturally gluten-free, dairy-free, and customizable to fit different dietary needs, but you’d never guess it from the taste. Whether you’re baking for yourself or sharing with friends, this is the kind of recipe that makes you feel like a kitchen genius with hardly any effort.
Recipe Card
Servings: 9 brownies
Prep Time: 5 minutes
Cook Time: 20–22 minutes
Total Time: 25–30 minutes
Ingredients
- 3 large ripe bananas, mashed
- ½ cup creamy nut butter (peanut, almond, or sunflower seed butter)
- ¼ cup unsweetened cocoa powder
Instructions
- Preheat oven to 350°F (175°C). Line an 8x8-inch baking pan with parchment paper.
- In a mixing bowl, mash the bananas until smooth.
- Stir in the nut butter and cocoa powder until well combined and no streaks remain.
- Pour the batter into the prepared pan, spreading it evenly with a spatula.
- Bake for 20–22 minutes, or until the edges are set and the center is just slightly soft.
- Let the brownies cool completely before lifting out of the pan and slicing into squares.
Nutrition Table (Per Brownie, Estimated)
| Nutrient | Amount |
|---|---|
| Calories | 110 kcal |
| Protein | 3 g |
| Carbohydrates | 12 g |
| Fat | 6 g |
| Fiber | 2 g |
| Sugar | 6 g |
| Sodium | 30 mg |
FAQ
1. How should I store these brownies?
Store in an airtight container at room temperature for up to 2 days, or refrigerate for up to a week.
2. Can I freeze them?
Yes! Wrap the brownies individually and freeze in a sealed bag or container for up to 2 months. Thaw at room temperature.
3. What’s the best nut butter to use?
Any smooth, creamy nut butter works well. Peanut butter gives a classic flavor, almond is more subtle, and sunflower seed butter keeps them nut-free.
4. Can I make these sweeter?
Absolutely. Stir in 1–2 tablespoons of maple syrup, honey, or your preferred sweetener for extra sweetness.
5. Can I prep these ahead of time?
Definitely. You can mix the batter a few hours ahead and refrigerate it until ready to bake, or bake the brownies a day in advance.
Healthy 3-Ingredient Flourless Brownies
Ingredients
Equipment
Method
- Preheat your oven to 350°F or 175°C and line an 8x8-inch baking pan with parchment paper.
- Place the bananas in a mixing bowl and mash them with a fork or masher until they are smooth.
- Add the creamy nut butter and the unsweetened cocoa powder to the mashed bananas.
- Stir the mixture thoroughly until the ingredients are well combined and no streaks remain.
- Pour the brownie batter into the prepared baking pan.
- Use a spatula to spread the batter evenly across the pan and smooth out the top.
- Bake the brownies for 20 to 22 minutes or until the edges are set.
- Remove the pan from the oven while the center is still slightly soft to ensure a fudgy texture.
- Allow the brownies to cool completely in the pan before attempting to lift them out or slice them.
- Slice the cooled brownies into nine even squares and serve.