Introduction
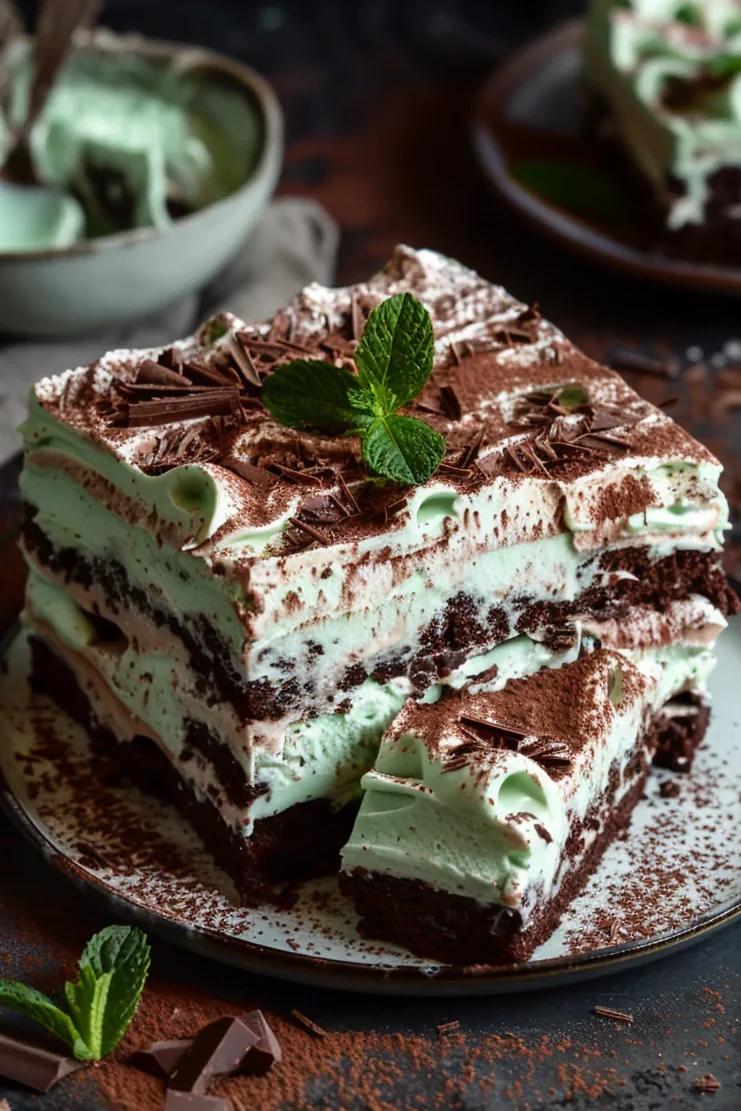
This Chocolate Mint Icebox Cake is a cool, creamy, no-bake dessert that feels like a bite of refreshment on a warm day. Layers of chocolatey cookies softened by fluffy mint cream create a dreamy, sliceable treat that’s both nostalgic and modern. The rich chocolate and cool mint flavor work beautifully together—like a classic after-dinner mint, only in cake form.
Icebox cakes have been around for generations, loved for their simplicity and charm. Traditionally made to chill in the refrigerator (“icebox”), this cake lets time do the work, transforming crisp cookies into soft, cake-like layers. It’s the perfect make-ahead dessert for summer parties, birthdays, or anytime you crave something sweet without turning on the oven.
Pro Tip
For the best flavor, let the cake chill overnight. This gives the cookies time to fully soften into tender, cake-like layers, making every slice rich and melt-in-your-mouth good.
Serving Suggestions
- After Dinner Dessert: Slice and serve with hot coffee or a mint tea for a refreshing finish to a meal.
- Summer BBQ Favorite: Bring this to a cookout—it’s guaranteed to disappear quickly.
- Birthday Treat: Add a drizzle of chocolate sauce and a sprinkle of crushed peppermints for a festive twist.
Variations
- Gluten-Free: Swap regular chocolate cookies for gluten-free chocolate wafers or sandwich cookies.
- Extra Chocolatey: Add a layer of chocolate ganache between the cream layers for serious chocolate lovers.
- Mint Cookie Crunch: Stir chopped mint chocolate candies or crushed mint cookies into the whipped cream layers for extra texture.
- Different Flavors: Try using vanilla wafers with peppermint extract or experiment with chocolate graham crackers for a twist on tradition.
Equipment Needed
- Mixing Bowls: For whipping the cream and combining ingredients.
- Electric Mixer or Whisk: Needed to whip the cream to soft peaks.
- Spatula: Helps spread the whipped cream evenly between layers.
- Loaf Pan or Square Dish: Provides structure for layering the cake.
- Plastic Wrap or Foil: Covers the cake during chilling to keep it fresh.
Tips for Success
- Use Cold Cream: Start with well-chilled heavy cream—it whips faster and holds its shape better.
- Don’t Overwhip: Stop beating once the cream holds soft peaks to avoid turning it grainy.
- Choose Thin Cookies: Thinner cookies soften more easily and give a better “cake” texture.
- Chill Overnight if Possible: A longer chill time ensures soft, sliceable layers.
- Clean Knife Between Slices: For neat presentation, wipe the knife clean after each cut.
Why You’ll Love This Recipe
This Chocolate Mint Icebox Cake is everything a great dessert should be: easy to make, rich in flavor, and effortlessly impressive. With no baking involved, it’s the ideal recipe for hot days or busy schedules. Every bite offers creamy coolness with that perfect balance of chocolate and mint. Whether for a family dinner or special celebration, it’s one of those desserts you’ll find yourself making again and again.
Recipe Card
Ingredients
- 2 cups heavy whipping cream, cold
- ½ cup powdered sugar
- ½ teaspoon peppermint extract
- 1 package (about 9 oz) chocolate wafer cookies
- Optional: crushed peppermints or chocolate shavings for garnish
Instructions
- Whip the Cream: In a large bowl, whip the heavy cream with the powdered sugar and peppermint extract until soft peaks form.
- Layer the Cake: Spread a thin layer of whipped cream in the bottom of your loaf pan or dish. Top with a single layer of chocolate wafers.
- Repeat Layers: Continue alternating whipped cream and cookie layers, finishing with a layer of cream on top.
- Chill: Cover with plastic wrap or foil and refrigerate for at least 4 hours, preferably overnight.
- Serve: Garnish with crushed peppermints or chocolate shavings before slicing and serving.
Nutrition Table (Estimated per Serving)
| Calories | Protein | Carbs | Fat | Fiber | Sugar | Sodium |
|---|---|---|---|---|---|---|
| 310 | 3g | 24g | 23g | 1g | 16g | 140mg |
FAQ
1. How long does this cake last in the fridge?
It’s best enjoyed within 3 days, but it stays fresh for up to 5 days when covered.
2. Can I freeze Chocolate Mint Icebox Cake?
Yes! Wrap it tightly in plastic wrap and freeze for up to 1 month. Thaw overnight in the refrigerator before serving.
3. What if I don’t like mint flavor?
Simply omit the peppermint extract or substitute it with vanilla or almond extract for a different twist.
4. Can I use whipped topping instead of homemade whipped cream?
You can, but freshly whipped cream has a richer, fresher flavor and better texture.
5. Can I prepare individual servings?
Absolutely—layer the ingredients in small jars or cups for a fun single-serve presentation.
Chocolate Mint Icebox Cake
Ingredients
Equipment
Method
- Pour the cold heavy whipping cream into a large mixing bowl.
- Add the powdered sugar and peppermint extract to the cream.
- Use an electric mixer or whisk to beat the mixture until soft peaks form.
- Spread a thin layer of the peppermint whipped cream onto the bottom of your loaf pan or square dish.
- Place a single layer of chocolate wafer cookies on top of the whipped cream.
- Repeat the layers of whipped cream and cookies until all ingredients are used or the dish is full.
- Finish the cake with a final layer of whipped cream on top.
- Cover the dish tightly with plastic wrap or aluminum foil.
- Refrigerate the cake for at least 4 hours or preferably overnight to allow the cookies to soften.
- Sprinkle crushed peppermints or chocolate shavings over the top before serving.