Introduction to Chocolate Chip Pan Chewies
My kitchen often looks like a battlefield after a long Tuesday at the office.
Between the endless emails and the commute, I rarely have the energy for individual cookies.
That is exactly why these Chocolate Chip Pan Chewies became my secret weapon for busy weeknights.
You get all that classic, gooey flavor without the tedious task of scooping dough.
I first discovered this method when I needed a quick dessert for a neighborhood potluck.
Since then, these bars have saved me from many last-minute sugar cravings and office parties.
They are thick, reliable, and honestly, way better than anything from a store-bought box.
If you value your time but still want a homemade win, this recipe is for you.
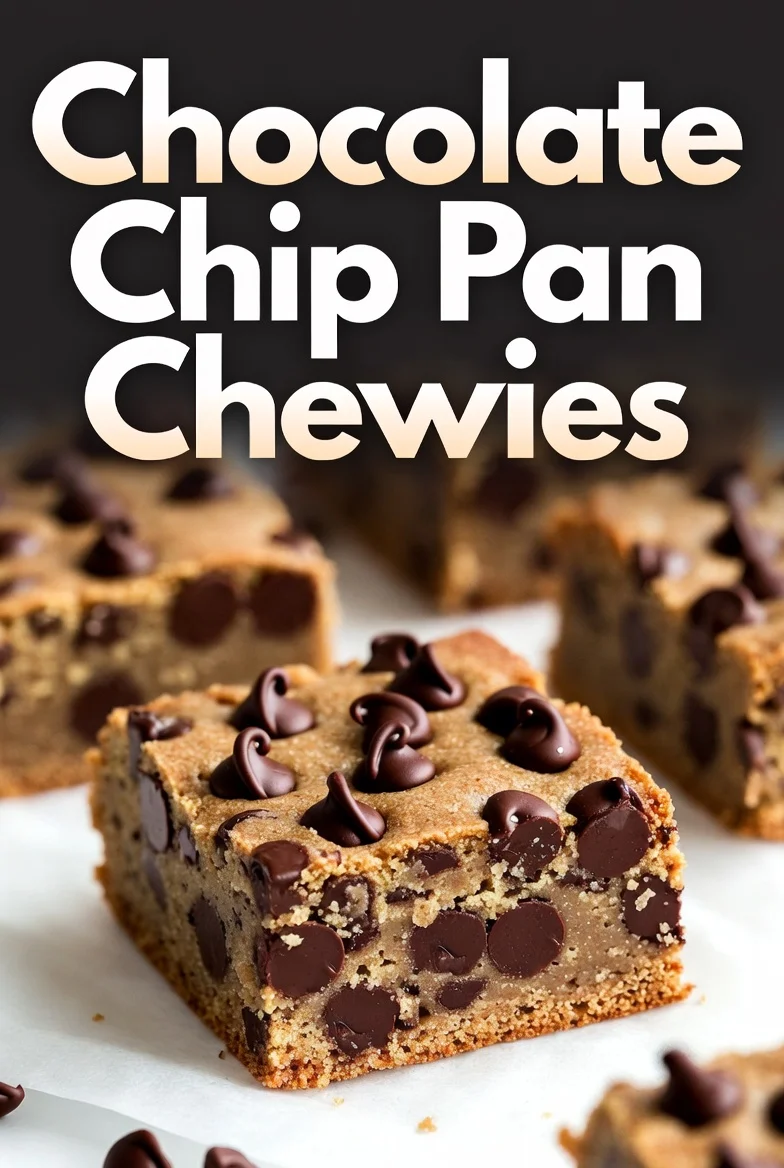
Chocolate Chip Pan Chewies: Easy Chewy Bar Cookies
Why You’ll Love This Chocolate Chip Pan Chewies Recipe
We have all been there, staring at a bowl of dough and dreading the scoop.
Individual cookies are great, but these Chocolate Chip Pan Chewies eliminate that repetitive labor entirely.
You simply spread the batter into one pan and walk away while the oven works.
This recipe delivers a dense, fudgy middle that beats a standard cookie any day.
It is the ultimate shortcut for guys who want maximum flavor with minimal kitchen cleanup.
Ingredients for Chocolate Chip Pan Chewies
The beauty of these Chocolate Chip Pan Chewies lies in the simple pantry staples you likely already own.
I always start with unsalted butter, which we melt down to create that signature dense, fudgy bite.
Using melted butter is a total game-changer because it eliminates the need for a heavy stand mixer.
Next, we use a blend of brown sugar and granulated sugar to achieve the perfect sweetness.
The brown sugar is the real MVP here, providing moisture and a deep, molasses-like undertone.
Fresh eggs act as our binder, giving the bars their structure and a rich, velvety mouthfeel.
I never skip high-quality vanilla extract; look for the pure stuff to get the best aromatic punch.
For the dry base, all-purpose flour provides the necessary backbone to hold all those heavy chips.
Baking soda adds a tiny bit of lift, while a pinch of salt balances the sugar beautifully.
Of course, the star of the show is the semi-sweet chocolate chips scattered throughout the dough.
You can swap these for dark chocolate chunks if you prefer a more sophisticated, bitter edge.
I often toss in some chopped walnuts or pecans for a satisfying, earthy crunch in every bite.
If you want the full list of measurements, check the recipe card at the bottom of this page.
How to Make Chocolate Chip Pan Chewies
Nothing beats the smell of warm sugar wafting through the house on a quiet Sunday afternoon.
Getting these Chocolate Chip Pan Chewies right is all about following a few easy, rhythmic steps.
You do not need fancy gadgets or a culinary degree to master these chewy chocolate chip bars.
Preparing Your Baking Pan and Oven
First, preheat your oven to 350°F to ensure it reaches the right temperature before baking.
I always grease my 9x13-inch pan thoroughly to prevent any stubborn sticking later on.
Using parchment paper with a little overhang makes lifting the entire block out incredibly easy.
This simple trick saves your pan from scratches and makes cleanup a total breeze.
Mixing the Butter and Sugars for Texture
Grab a large bowl and whisk your melted butter with both types of sugar.
You want the mixture to look smooth and well-combined before you move forward.
This step is vital for creating that shiny, crackly top we all love in blondies.
The smell of the warm butter hitting the brown sugar is honestly the best part.
Incorporating Eggs and Vanilla Extract
Add your eggs one at a time, whisking vigorously after each one goes into the bowl.
I like to see the batter turn glossy and thick during this specific stage.
Stir in your vanilla extract now so the flavor distributes evenly throughout the entire base.
A good whisking here builds the structure needed for a perfect, dense bite.
Combining Dry Ingredients with the Wet Base
In a separate smaller bowl, quickly whisk your flour, baking soda, and salt together.
Gradually pour these dry ingredients into your butter mixture while stirring very gently.
Be careful not to overmix, as too much stirring can make the bars tough.
Stop as soon as you see the last streaks of white flour disappear.
Folding in the Chocolate Chips and Nuts
Now comes the fun part where we load up on the good stuff.
Dump in those chocolate chips and your optional chopped nuts with a heavy hand.
Use a spatula to fold them in so every single square gets plenty of chocolate.
I love how the chips look nestled in that golden, buttery dough.
Baking the Chocolate Chip Pan Chewies to Perfection
Spread the thick batter into your prepared pan using the back of a spoon.
Give the pan a quick shake to help the dough settle into the corners.
Slide it into the oven for 25 to 30 minutes until the edges turn golden.
The center should still look slightly soft to keep that ultra-chewy texture we want.
Cooling and Slicing for Clean Edges
Resist the urge to cut into them immediately, as tempting as they might smell.
Let the pan sit on a wire rack for at least ten minutes first.
This cooling time allows the center to firm up for those perfect, clean edges.
Once cooled, lift the parchment paper and slice them into twenty-four generous bars.
Tips for Success
Over the years, I have learned that a few small tweaks make a massive difference.
Follow these simple pointers to ensure your Chocolate Chip Pan Chewies turn out perfectly every single time.
- Use room temperature eggs so they emulsify smoothly into the melted butter.
- Avoid over-mixing the flour to keep the texture tender rather than cakey.
- Pull the pan out when the center still jiggles slightly for maximum chewiness.
- Measure your flour using the spoon-and-level method to prevent dry, crumbly bars.
- Let the melted butter cool slightly before adding sugars to avoid cooking the eggs.
Chocolate Chip Pan Chewies: Easy Chewy Bar Cookies
Equipment Needed
You do not need a kitchen full of high-tech gadgets to pull this off properly.
A simple 9x13-inch baking pan is the primary tool for these Chocolate Chip Pan Chewies.
- 9x13-inch baking pan (metal or glass works).
- Two mixing bowls (one large, one medium).
- A sturdy whisk or a large wooden spoon.
- Parchment paper for easy, mess-free removal.
- Measuring cups and spoons for accuracy.
- A wire cooling rack for even airflow.
Flavor Variations
I love experimenting with the classic base of these Chocolate Chip Pan Chewies to keep things fresh.
Half the fun of being the family cook is tweaking a recipe until it feels like your own.
- Sprinkle flaky sea salt over the top right after baking to balance the intense sweetness.
- Swap half the chocolate chips for butterscotch or peanut butter chips for a nostalgic flavor.
- Stir in a half-cup of shredded coconut for an extra layer of chewy, tropical texture.
- Use a 1-to-1 gluten-free flour blend to make these accessible for friends with dietary restrictions.
- Add a teaspoon of espresso powder to the butter to make the chocolate flavor really pop.
- Substitute dark chocolate chunks and dried cherries for a more sophisticated, "grown-up" version of these bars.
- Mix in crushed pretzels or potato chips if you crave that ultimate salty and sweet combination.
Serving Suggestions
There is something deeply nostalgic about pairing these Chocolate Chip Pan Chewies with a tall, ice-cold glass of whole milk.
If I am hosting a dinner party, I often serve them warm with a scoop of vanilla bean ice cream.
- Serve alongside a bitter espresso to cut through the rich, buttery sweetness of the bars.
- Stack them high on a wooden board for a rustic, casual dessert presentation at your next barbecue.
- Drizzle with a little warm caramel sauce for an extra decadent, restaurant-style treat.
FAQs about Chocolate Chip Pan Chewies
I remember the first time I rushed a batch and ended up with bricks instead of bars.
Experience is a great teacher, so I have gathered the answers to your most common questions.
Can I freeze these bars for later?
Yes, these Chocolate Chip Pan Chewies freeze beautifully for up to three months.
Wrap individual squares in plastic wrap and toss them into a freezer bag for quick snacks.
Why did my bars turn out too hard?
Hard bars usually come from over-baking or over-mixing the flour into the wet base.
Pull them out while the center is still soft to maintain that chewy chocolate chip bars texture.
Can I use margarine instead of butter?
You can, but I strongly recommend sticking with real butter for the best flavor.
Butter provides a richness and a specific mouthfeel that margarine simply cannot replicate in blondies.
How should I store the leftovers?
Keep them in an airtight container at room temperature to prevent them from drying out.
They stay fresh and delicious for about five days, if they even last that long.
Can I use a different size pan?
A 9x13 pan is ideal, but an 8x8 pan works if you want thicker bars.
Just remember to increase the bake time slightly and keep a close eye on the edges.
Final Thoughts
There is a certain kind of peace that comes from a warm kitchen and a single dirty pan.
These Chocolate Chip Pan Chewies prove that you do not need to spend hours over a counter to impress your family.
I love how this recipe fits into a hectic life without demanding more than a few minutes of active work.
Whether you are packing them for lunch or sharing them with friends, they always hit the spot.
Ditch the complicated recipes and embrace the simplicity of a reliable, one-pan dessert that everyone will actually enjoy.
Happy baking, and enjoy that first warm, chewy bite!
PrintChocolate Chip Pan Chewies: Easy Chewy Bar Cookies
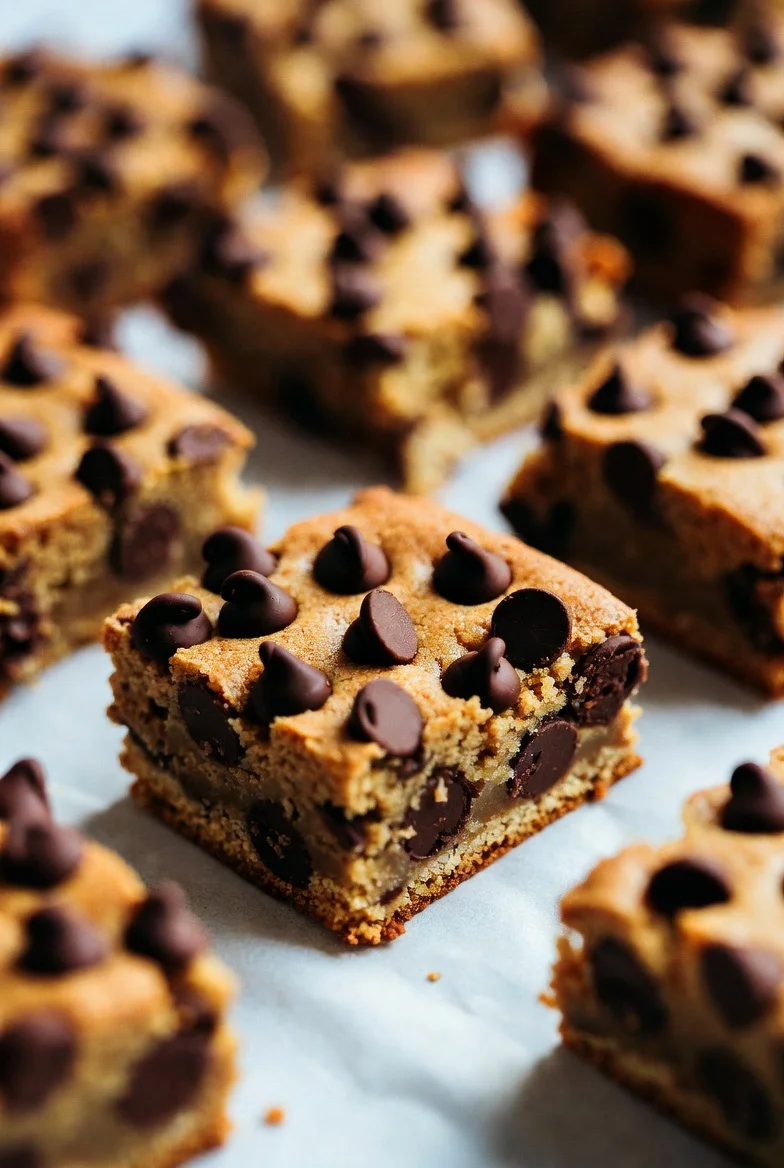
These Chocolate Chip Pan Chewies are easy-to-make bar cookies that offer a perfect blend of gooey chocolate and a dense, chewy texture. Baked in a single pan, they are a convenient and delicious alternative to classic drop cookies.
- Prep Time: 15 minutes
- Cook Time: 25 minutes
- Total Time: 40 minutes
- Yield: 24 bars 1x
- Category: Dessert
- Method: Baking
- Cuisine: American
- Diet: Vegetarian
Ingredients
- 1 cup unsalted butter, melted
- 1 cup brown sugar, packed
- ½ cup granulated sugar
- 2 large eggs
- 2 teaspoons vanilla extract
- 2 cups all-purpose flour
- 1 teaspoon baking soda
- ½ teaspoon salt
- 2 cups semi-sweet chocolate chips
- 1 cup chopped nuts (optional)
Instructions
- Preheat your oven to 350°F (175°C). Grease a 9x13-inch baking pan or line it with parchment paper.
- In a large mixing bowl, whisk together the melted butter, brown sugar, and granulated sugar until smooth.
- Add the eggs one at a time, mixing well after each addition, then stir in the vanilla extract until the mixture is glossy.
- In a separate bowl, whisk together the flour, baking soda, and salt.
- Gradually add the dry ingredients to the wet mixture, stirring gently until just combined (do not overmix).
- Fold in the chocolate chips and optional nuts until evenly distributed.
- Spread the batter evenly into the prepared pan and shake slightly to settle.
- Bake for 25 to 30 minutes, or until edges are golden brown and a toothpick comes out with moist crumbs.
- Cool in the pan for 10 minutes before transferring to a wire rack to cool completely before cutting.
Notes
- For the chewiest results, ensure you do not overbake the bars; they should still look slightly soft in the center.
- Using parchment paper with an overhang allows you to lift the entire block out for clean slicing.
- Store in an airtight container at room temperature for up to 5 days.
Nutrition
- Serving Size: 1 bar
- Calories: 210
- Sugar: 18g
- Sodium: 115mg
- Fat: 12g
- Saturated Fat: 7g
- Unsaturated Fat: 4g
- Trans Fat: 0g
- Carbohydrates: 26g
- Fiber: 1g
- Protein: 2g
- Cholesterol: 35mg
Keywords: Chocolate Chip Pan Chewies, Blondies, Bar Cookies, Easy Baking, Chewy Chocolate Chip Bars